Showing posts with label sewing. Show all posts

Monday, August 19, 2013

Sail-bag.


Earlier this year I posted about framing the logo from our old main sail.
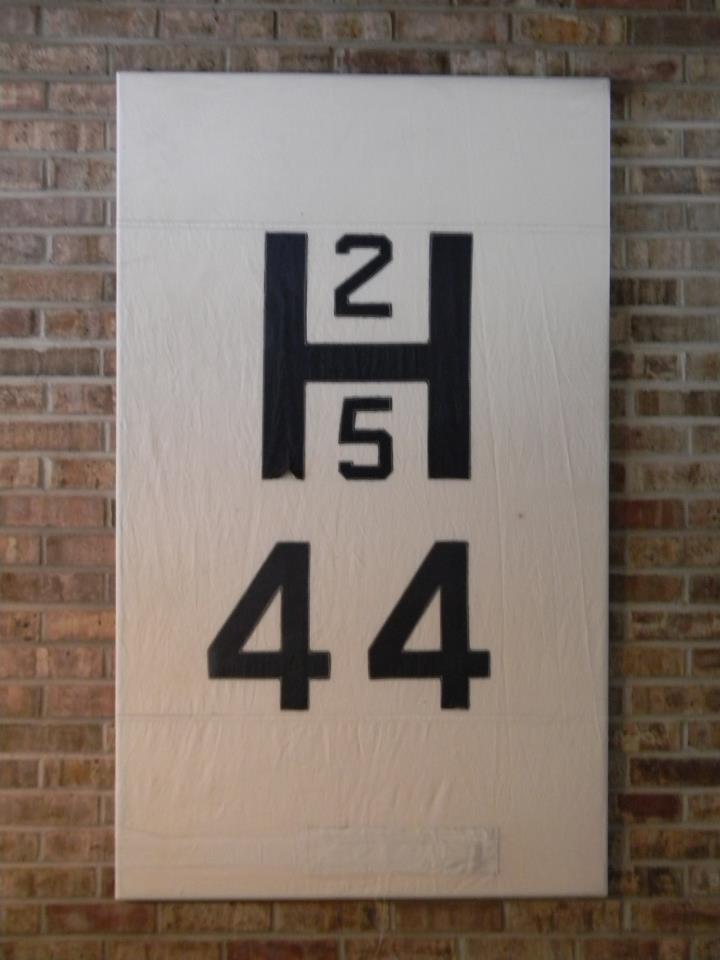
 
 
Well, after that project, I still had a TON of material left including the logo from the other side of the sail. That logo was damaged when we tore our main sail, but still usable, just not in one piece.
 
This weekend I found a way to use a portion of that logo in yet another project. This one was for a new shoulder bag. I used a pattern that I've used before. The Runabout Bag from Lazy Girl Designs. I love this bag design. It's so quick and easy to make and is VERY customizable. This time I used some purchased nylon webbing for the handle and a "sport" zipper.


Wednesday, November 14, 2012

Cross stitch is back!

 
About three weeks ago I posted about getting back into cross stitch. I started with a pattern of a compass that I found in an old magazine. The pattern was sampled from the book "Stitch Graffiti". I edited the compass, adding in a spiral also found in the book and a sailboat of my own creation. I thought the design would be the perfect front panel for this Monk's Bag tutorial from The Purl Bee.
  
Last week I went to our local fabric store looking for the perfect materials. I needed three or four. One for the lining, one for the front and back panels, one for the outside of the handles and one for the lining of the handles. I ended up choosing three. I loved this green material for the lining and the front and back panels because it was the same color as the green spiral in the cross stitch design and it's print reminded me of a compass (win-win). I liked the blue material for the handles because it looks like water (sailing) and I like something dark for handles because they get tend to get dirty. I also used the blue for the small inside pocket. The lining of the handles is a red batik print with sailboats on it. I thought this was perfect since it matched the red of the sailboat on the cross stitch panel and our sailboat CRUSH has a red stripe too.
 
I am pleased with how the bag turned out. There are things I would change or do different with the handles if I made it again, but I think it's a nice sturdy bag and I hope to use it from time to time. Doing some cross stitch again was fun too. Too bad that I need reading glasses for it now.

Monday, October 1, 2012

My Son's Custom Tae Kwon Do Weapons Bag

My son takes Tae Kwon Do lessons and at 14 years old is a 2nd degree black belt.
He loves majoring in "weapons" and bi-weekly has to bring them all to class.
It's a bit of juggling, so I decided to make him a bag to carry them all.
We looked online at "weapons" bags, but didn't find anything close to what he was looking for.

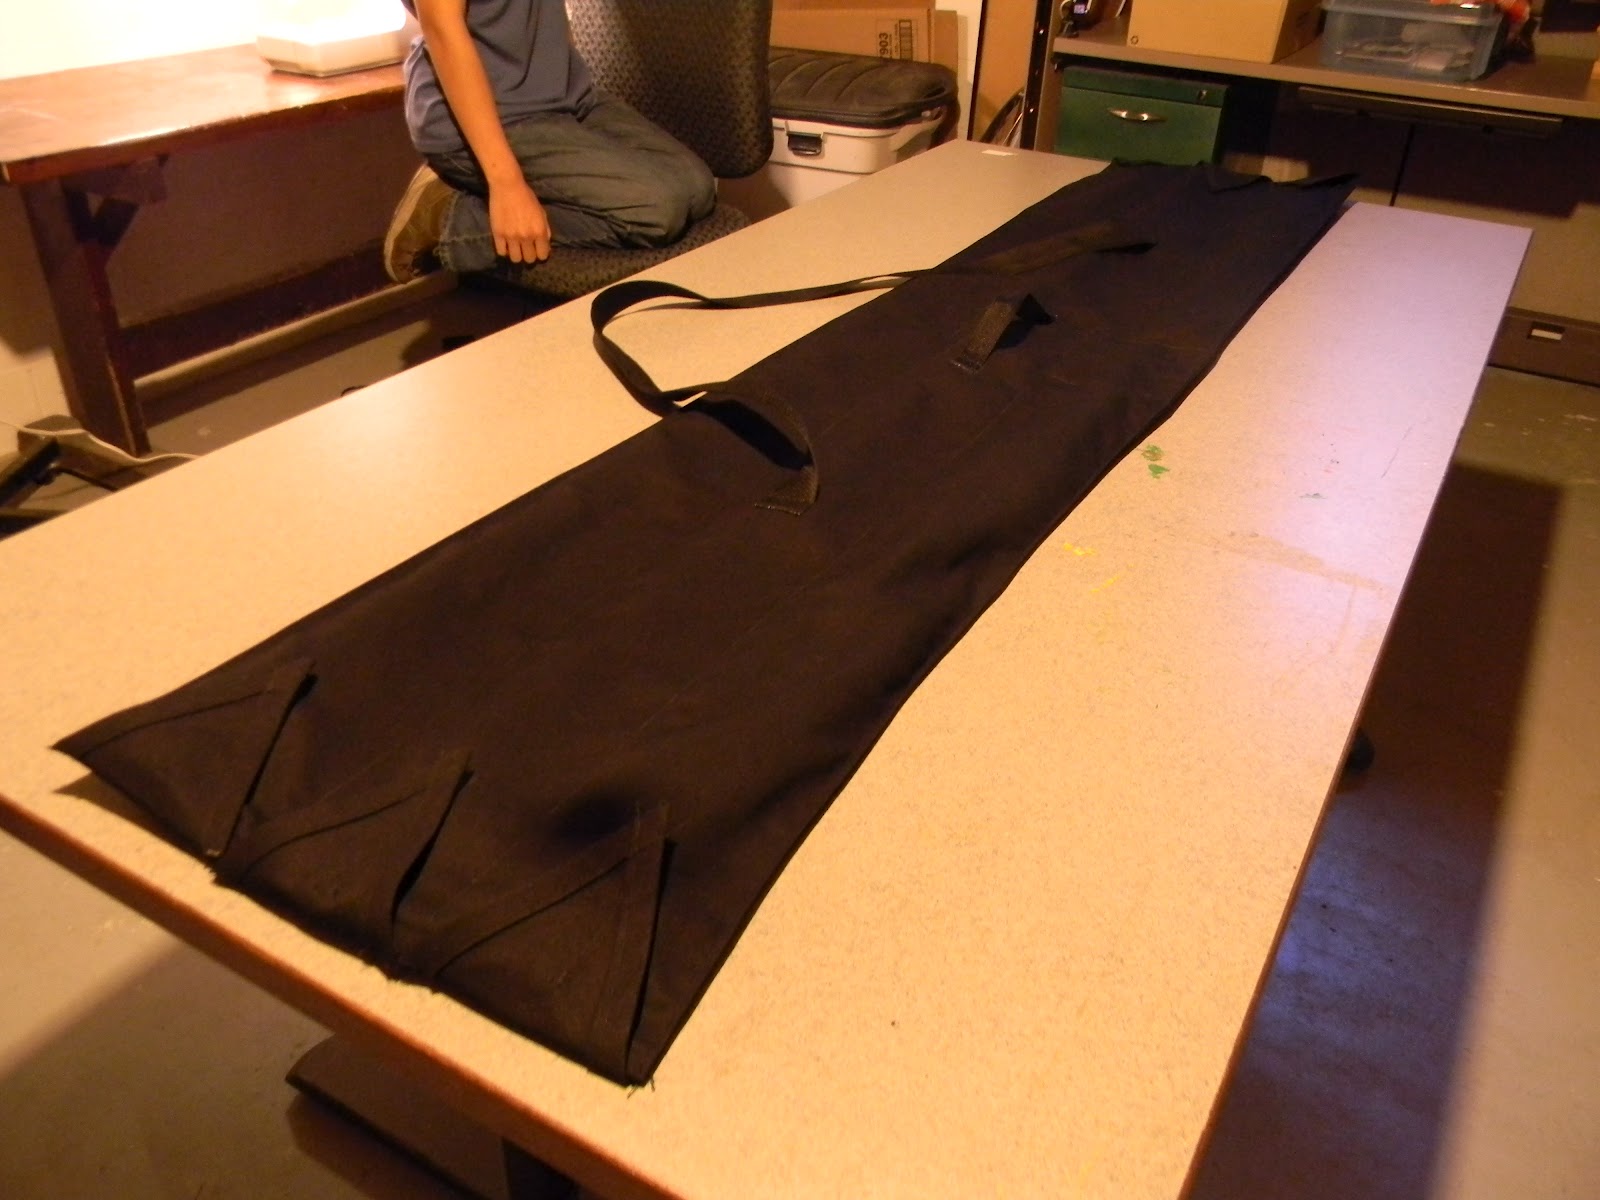
This bag is just over six feet long, the length of his bo staff and is fifteen inches wide,
there are three pockets the full length that are five inches wide, but vary in width themselves.
The pockets all close with velcro and the material is a heavy weight duck cloth.


The bag has a handle and a shoulder strap made from webbing.


Here are the weapons: bo staff, nunchakus, tonto (wooden knife),
 escrima sticks, and bokken (wooden sword).


Here is the bag with the pockets closed.


Here are all the weapons in their pockets. The bo staff pocket is the length of the bag, is the center pocket and opens from either end. The tanto and escrima stick pockets are at one end and on either side of the bo staff pocket. The bokken and nunchakus pockets are at the other end. The pockets for the other weapons such as the tanto, were shortened since the tanto is only about 12 inches long.

The total cost for the bag was less than $20.

Sunday, August 12, 2012

DIY - Money Cuff Tutorial


I came across a tutorial the other day about making a cuff to hold change for a child. It incorporated lots of velcro and sewing. Then I came across  tutorial about making these darling little pouches from the cuffs of men's dress shirts and thought that these two ideas would be great together. I don't profess to be the first person to come up with this idea, but I haven't seen it before.

First, you need a shirt with cuffs. Cut off the cuffs as close to the sewn on cuff as possible.

Second, button one of the cuffs, laying it flat, deciding how much of a flap you want compared to how deep a pouch you want. Lay this on top of the other cuff. (You might want to try to on at this point to be sure you like where the pouch is positioned on the cuff as it will button around your wrist.) Mark lightly or place a pin where the folds are and open it up.


Third, sew through the two cuffs across where the bottom of the pouch is and where the top flap will fold over.

Fourth. sew the side seams of the pouch. Do not sew across the flap, leave that free to button closed.


Though this wrist pouch is not big enough to hold an ID for an adult. It will hold change or bills and would be perfect for a child or times you just need to carry some money.

Friday, April 13, 2012

My First Zippered Pouch.


This is something I've been wanting to make for quite awhile now, a zippered pouch. I love containers and little bags to hold things and until now I've been quite happy making drawstring bags. But drawstring bags have their drawbacks (no pun intended), and it was time to learn something new. So, I turned to the internet and searched "How to sew a zipper in a pouch." After watching a couple, I pulled out all my materials and the zipper foot to my sewing machine and went to work.


I had the zipper on hand. Like I said, I've been thinking about making this for awhile now. The fabric was something I had gotten in a pile from my mom. I think this little bag turned out well. It's not perfect but it met my criteria, it's lined and has a zipper closure. Good for my first try and I'm hoping my next try will be even better.


I would eventually like to make a small purse with a long thin strap to hold my cell phone and driver's license, but I'm not sure what to use for the strap and the video that showed how to make a thin strap didn't work for me. So, that will have to be something I work on next. I don't care for ribbon straps and would like to make one from the same fabric, but not too thick. I think the fabric store carries a tool to help with the turning, so I'll have to look into that next.

Friday, April 6, 2012

My "Long Pom Pom Cowl".

I LOVE the Purl Soho websites. They have so many wonderful projects and tutorials in knitting, crochetting and sewing, that I regularly find something I am dying to make. If you haven't taken a look, you really must. Seriously! If you are like me, you really find more projects you'd like to do than you have the time and/or money to finish. Anyway, last week they posted this photo on Facebook of some of their more recent projects. I think it was of a display at their store. I had been wanting to make this "Long Pom Pom Cowl" ever since I saw it on the website in September of 2011.


So, this week, I ran off to my local fabric store and purchased the supplies and started sewing. It calls for a half yard of linen and four yards of pom pom trim. It cost me less than $15 to make. This isn't a difficult project, but the linen fabric can be a little slippery to work with, so use your iron to crease the edges and lots of pins or basting. I also changed the pattern a bit and made a rolled seam connecting the ends into a cowl BEFORE I added the pom pom trim. I thought it made for a nicer finished back seam.


Thursday, December 16, 2010

Cute Zombie Bag


I found this cute bag pattern on a website called, "The Happy Zombie". Not sure how I came across this. I just click on links from other sites I like and find cool stuff.
Anyway, this bag is made from three "fat quarters". I'm too lazy at the moment to research exactly what a "fat quarter" is. Suffice it to say that my local fabric store sells them and I think quilters by them. The size is about 18x22. I had bought a few to make something else and then when I found this pattern, I decided to make this instead. These three fabrics wouldn't have been my first choice and they don't go together as well as I would've liked. When I make another one, I'll choose my fabrics a lot more carefully.
This bag is fully lined and you have a choice of whether or not to make boxed corners. The pattern is easy to understand and follow and doesn't take too long to make. My only complaint is that the bag is quite a bit smaller than I thought it would be. That isn't the pattern's fault, it's mine, since I didn't read the final size before starting. I'm certain it would be easy enough to make this pattern larger. Then, of course, you would need more than a "fat quarter".
This would be a great bag for a child. It has one large pocket and two small side pockets. I'm going to use it for a pool bag on our trip to Key West, FL later this year. The side pockets are perfect for keys, sunglasses or suntan lotion and the large compartment in the center is good for a book or two. I'm sure I will be making another one.

Wednesday, June 16, 2010

Origami Drawstring Bag

I found this pattern on the most adorable blog from a woman in Japan awhile back and have been wanting to make this cute little drawstring bag ever since. Last night, I finally did. She sews everything on her blog by hand, but I used my machine. I started with a 19 inch square and the finished size is 7.5 x 8. There is one large pocket closed by the drawstrings and two side pockets under the flaps. It was really easy and if you want to make your own, the link is below. These would make great bags for any small sewing or crafting projects; but this one is going to Miss Olivia F. from church. Check out Mai's blog for a lot more cute sewing projects, ideas, and culture from Japan.

Monday, June 14, 2010

Knitting Caddy remake.

Just thought I'd share this awesome remake. I've been wanting one of these yarn caddies for quite some time. My mom had one and I thought it was great. I have lots of tote bags (ask Bob), but nothing that would stay open, hold my yarn from rolling away while working with it, and look nice enough to leave out in the living room. Oh and I didn't want to spend $36 to buy a new one.
I found this caddy at Bibles for Mexico and the poor thing was filthy, the material was old, worn and stained, and it had some of it's decorative nails replaced with eye hooks. It was only 50 cents and had plenty of potential, so after purchasing some new fabric, something that would go with the living room decor and a light fabric for the lining (so you can see what's inside), and some new decorative nails, this is what it looks like now.
I think I only spent about $5.00 and I can still take my knitting along and the caddy looks awesome.

Thursday, March 6, 2008

Felted bag

I saw the knitted version of this bag on http://www.knitty.com/. It was called "Square Cake" and I thought it was adorable. Well, I'm not much of a knitter, and I currently have two knitting projects started, so I decided I would try a sewn version. I went to my local mission store and found this bright purple, wool sweater in a women's 2XL; brought it to work, where we have a top load washer and there I attempted to "felt" it. It worked pretty well, but also filled up the washer and the dryer with TONS of purple fibers. I mean TONS! I brought the now felted sweater home and tryed it again in the sink and then in my nice front load washer. Well, my husband got home first and found that machine also full of purple fibers. To say the least, he was confused and not thrilled. Fast forward to a few days later and I cut apart the sweater and made this little bag to the specifications in the pattern. It is cute, but a lot smaller than I thought it would be, even though I made the "larger" size. Honestly, I'd have to recommend taking a look a the "knitty.com" website for the original knitted purse.