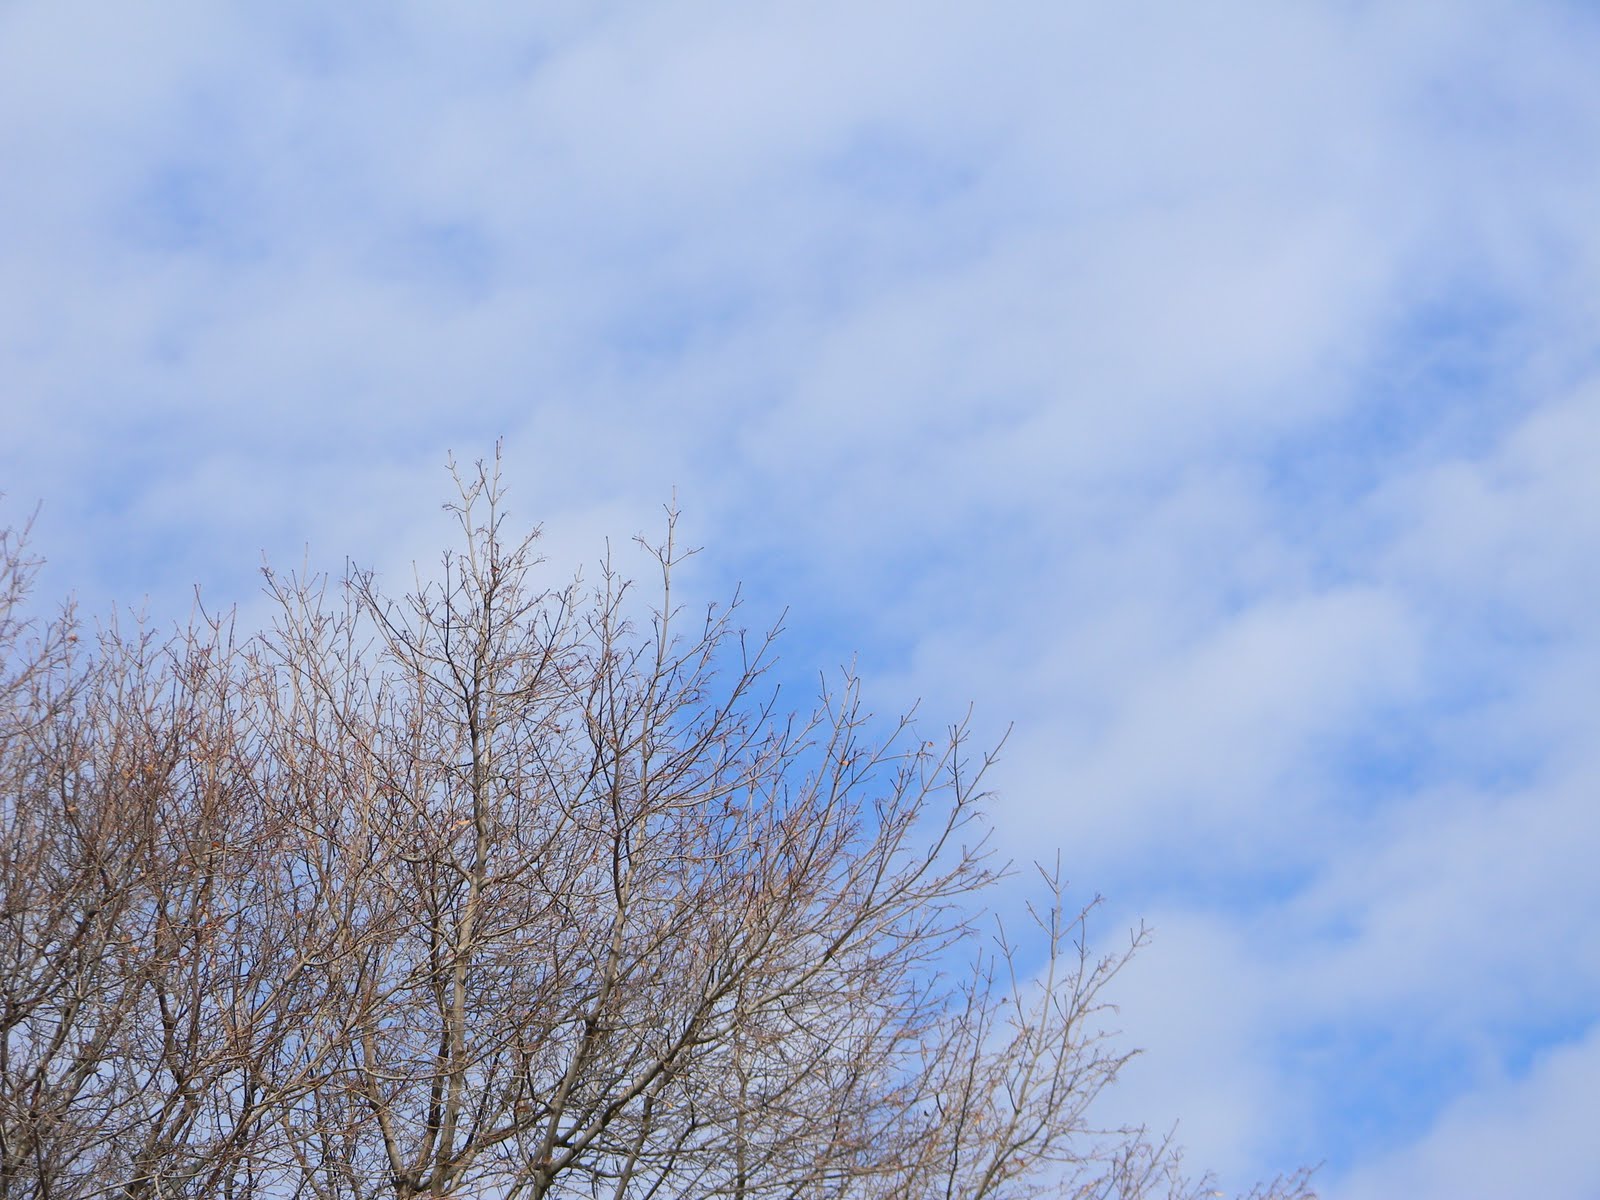
 This noon, I completed the January, 2012 portion of my Sky Scarf for Holland, Michigan. As you can see from the photo above, we are having a beautiful sunny day here and that we have had a lot of blue sky for the month. This is most unusual. I was expecting to knit a lot of grey this month. The other big change to the scarf was tearing out everything since the first post and reknitting it from garter stitch (knit every row) to a knit two, purl two rib pattern. I am much happier with this version. It is a little narrow and I think it shows off the difference in color from day to day. One month done, eleven to go. Tomorrow, we start February.
Tuesday, January 31, 2012
Sky Scarf, January 2012
This noon, I completed the January, 2012 portion of my Sky Scarf for Holland, Michigan. As you can see from the photo above, we are having a beautiful sunny day here and that we have had a lot of blue sky for the month. This is most unusual. I was expecting to knit a lot of grey this month. The other big change to the scarf was tearing out everything since the first post and reknitting it from garter stitch (knit every row) to a knit two, purl two rib pattern. I am much happier with this version. It is a little narrow and I think it shows off the difference in color from day to day. One month done, eleven to go. Tomorrow, we start February.

Friday, January 27, 2012
"Two for One" or "WOW! Two Posts in One day!"

Every year, Holland Friends of Art puts on an outdoor craft fair called "Art in the Park". It is held in August in Centennial Park here in Holland, Michigan. I have participated in it once and when I was on the board was involved in it in other ways. Anyway, years ago they started holding a poster competition for the members and this year I decided to enter a piece for it. Here it is. I didn't think it would hurt to show my entry here since probably only one or two people will even see it. I like how it turned out. I used only Sharpie brand markers for this. I love Sharpies but have never really used them for artwork. That might change. There are lots of colors available and some limited edition colors too, I might have to do some shopping to fill out my palette.
A new painting.

It's been a long time since I've painted anything. There, I said it. It's not like I'm not doing anything creative though. I've been reading and knitting (a lot) and making some cards, but I haven't been painting, unless you count painting my son's bedroom. So, about two weeks ago, I had motivation to finish a painting for the Holland Friends of Art Members show. I work better with a deadline, an empty frame complete with a mat already cut, a blank sheet of watercolor paper and no excuses. I must admit I was a little nervous. What was I going to paint? How would it turn out? Would it be done in time for the show? I selected a photo that I took several years ago near Asheville, North Carolina and dove in. I am happy with how it turned out. Not completey, but I am my worse critic. The best part is that I really enjoyed the process and am looking forward to the next piece. I might even have to place an order for more paper and a couple of more tubes of paint.
By the way, the Sky Scarf is going well and I'll post an update on or about February 1. Stay tuned.
Monday, January 9, 2012
Sky Scarf Post #1/2
 Well, we're only a week into 2012 and I thought I would post a photo of my progress on the Sky Scarf.
I thought being in Michigan and it being winter when I started that I would be knitting nothing but grey and white for the first four months. But as you can see, it's been quite the happy mix this first week with lots of blue sky.
I decided that I would knit my two rows based on what the sky was doing at noon each day. The above photo was the sky at about 12:30 p.m. At noon it was completely grey. It's mostly grey again now at about 1:30 p.m.
My intent is to post a photo the end of each month so that you can see the progress.
One thing I haven't been able to do is twist the yarn along the edge the way she did it in the pattern. My plan is to crochet all the way around when it's done.

Saturday, December 17, 2011
It's beginning to look a lot like Christmas!
 Well, here it is, a week before Christmas and the Christmas cards are finally out, and the tree and stockings are up.

 I've done these cross stitch cards before. The idea came from the Better Homes and Gardens Country Crafts Christmas Edition magazine from 1990. The pattern was for a sampler, but they also had the idea to do some of the motifs on perforated paper, cut them out and use them on cards. I had a great time using some scrapbook paper for the backgrounds (something that wasn't around in 1990).
  I was short a couple of cards and decided to make a couple cheery looking cards using the Iris Folding technique. I like the look of it and even though it looks complicated, it's really simple.
And, because I know my friend Aimee reads this blog and I love her's. here are a few interior Christmas shots.


 I only pick ornaments that mean something to my family. Perhaps an interest or a hobby, but there is a connection between each one and us.

 My mom and dad cross stitched us these Christmas stockings back in 1998 after Jarod was born. Yes, BOTH of my parents cross stitch. I love them and these stockings too. I believe they've done one for every member of their family and even some friends too. Lots of work and love went into these.
  This is the is the coffee/tea service table in my dining room. I'm not sure where the table came from originally. I believe it was my husband's grandmother's table. My mother in law was using it as a laundry room table for her detergent (horrors), so after much begging, he bought her a shelf and took this home. It needed a lot of work and refinishing, but it looks great here. It is a drop leaf table. We went to a Bed & Breakfast that had one of these electric kettles and I really wanted one after that. So, now I have my own set up and use it often.
Now, I'm off to build a "yarn swift" so that I can be ready to start the Sky Scarf for 2012. Merry Christmas to all!
Wednesday, December 7, 2011
Sky Scarf, Holland, MI

You know, sometimes I come across things online that I want to do, but I can't remember how I came across them in the first place. This is just such a thing.
It's called a Sky Scarf and is the brain child of Lea Redmond AKA Leafcutter on Ravelry. She calls this a "Conceptual Knitting" project.
Basically, you look at the sky every day and knit two rows on a scarf in colors that represent what the sky is doing.
Above are my color choices. I'm using Cascade 220 Fingering in white, robin egg blue, sapphire, silver and charcoal.
This scarf is knit on size 4 needles over the course of a year and will measure approximately five feet when finished.
I will be starting on January 1, 2012. Lea recommends keeping everything together in the open so that it is easy to remember to do your rows each day. I found (YES, FOUND!) this beautiful Longaberger basket last year, bought a new liner, and I think will be the perfect place to keep this scarf for a year.
Check back to see my progress. Since I live in Michigan, I'm sensing there will be a lot of white and gray to start with.
Interested in making your own? Click HERE.
Interested in the yarn I'm using? Click HERE.
Interested in joining the Ravelry group for this scarf? Click HERE.
Thursday, November 3, 2011
Definitely a TREAT!!!

Well, my yarn arrived and I consider it a TREAT. I'm sure this photo doesn't do this yarn justice. This is what I received for the "Trick or Treat" from The Buffalo Wool Company. It has no label, so I have no idea which of their yarns this is. No big deal though since they said that these were all random skeins and some wouldn't be labeled. I assume this is made from Bison fleece and it looks to be close to a worsted weight. The color looks black in this photo, but upon closer examination it looks like a combination of dark brown, green and black. I immediately thought this would be a great stocking cap for the hubby. Stay tuned as this may be going on the needles sooner than later.
Friday, October 28, 2011
Trick or Treat
Mystery Yarn! I can't wait!
http://store.thebuffalowoolco.com/trick-or-treat/
I'll be posting what I get AND photos of what I've made. Stay tuned!
http://store.thebuffalowoolco.com/trick-or-treat/
I'll be posting what I get AND photos of what I've made. Stay tuned!
Friday, September 23, 2011
Dipping my toes back in the water...
A NEW blog post by yours truly!

I just realized, embarassingly enough, that it has almost been a year since I posted anything on this blog. Can't imagine that anyone would want to visit here if there is nothing new to see. So, here is a brief posting of one of the new Birthday cards I just finished. My card box was decimated following all the May birthdays on the Riemersma side of the family, so it was time to get to card making. I made a few Anniversary cards too. Next post will be devoted to card making, I think. Then again, it might be sailing since the boat will be put away sometime in the next couple of weeks. My, how the time has flown. Stay tuned and if you have seen this posting, come back and invite your friends too. Thanks for visiting.


Thursday, December 16, 2010
Cute Zombie Bag


I found this cute bag pattern on a website called, "The Happy Zombie". Not sure how I came across this. I just click on links from other sites I like and find cool stuff.
Anyway, this bag is made from three "fat quarters". I'm too lazy at the moment to research exactly what a "fat quarter" is. Suffice it to say that my local fabric store sells them and I think quilters by them. The size is about 18x22. I had bought a few to make something else and then when I found this pattern, I decided to make this instead. These three fabrics wouldn't have been my first choice and they don't go together as well as I would've liked. When I make another one, I'll choose my fabrics a lot more carefully.
This bag is fully lined and you have a choice of whether or not to make boxed corners. The pattern is easy to understand and follow and doesn't take too long to make. My only complaint is that the bag is quite a bit smaller than I thought it would be. That isn't the pattern's fault, it's mine, since I didn't read the final size before starting. I'm certain it would be easy enough to make this pattern larger. Then, of course, you would need more than a "fat quarter".
This would be a great bag for a child. It has one large pocket and two small side pockets. I'm going to use it for a pool bag on our trip to Key West, FL later this year. The side pockets are perfect for keys, sunglasses or suntan lotion and the large compartment in the center is good for a book or two. I'm sure I will be making another one.
The Unfinished Christmas.

This Christmas I had TONS of ideas for handmade gifts to make. I also had tons of projects started and materials bought to start projects. I made a list of unfinished projects. Scary. So, I decided it was time to finish up some of these ideas.

 Some years I've made my own Christmas cards and I thought about doing it again, but with all the ideas for other projects in my head, I had made eight cards by Thanksgiving. My original idea was to handknit washcloths and send those out as Christmas cards. I think I made two. Hardly what I needed. I'll get back to the unfinished washcloth idea later.
 So, I found this cute sailboat image on the "Life Is Good" website that they were posting as a coloring page and used it for our Christmas card. Bob and I sat on the floor in the living room one wintery Sunday afternoon with a fire in the fireplace, coloring all the cards while watching "The Walking Dead" marathon on AMC. Yeah, I know, hardly a Christmas-y show, but we had so much fun. Yay! Christmas cards DONE!
  In addition to the Christmas washcloths, another project started more than a year was making "Morsbags". Morsbags is an English website. You make fabric bags and then give them out to people to use instead of plastic bags at the grocery store. They have a free pattern, not that you really need one. They also have labels you can buy or print to call attention to their site. Not a new concept, but I thought I would make them for the women in my family for last Christmas. I got fabric from a second hand store and some donated. Again, I got two done.

 This brings us back to the Christmas washcloths. Three of the five are shown above. Since, I had finished the "Morsbags", I decided to finish the washcloths too and give those to the women in my family. These washcloth patterns are wonderful and really easy to knit. The designer is Kris Knits and I have seven of her washcloth pattern sets.
 So, to make a long story short. This was the season to finish some unfinished Christmas projects. Now, I didn't finish them all and I did start some new ones, but I feel like I made progress and you can too.
Tuesday, November 2, 2010
Christmas Card makin'

Yesterday, I made my first two Christmas cards. I checked the closet and the card box to be sure there weren't any left overs from previous years that I had forgotten or boxes I had purchased on sale after Christmas. So, I pulled out the Christmas papers and the Stampin' Up idea books and went to town. Well, maybe not "to town", but I did make two cards and was happy with both. Here they are. I liked the idea of repeating a small stamp several times in a row. I used a green pencil to add color to the one on the right. Two down, many more to go.
Monday, November 1, 2010
The Day After Halloween


I've been wanting to make pennants for a long time, but have never come up with a good theme.
Well, all that changed yesterday when it came to me to take all the cards that our son has gotten for Halloween and make a pennant decoration out of them.
This morning I went to work. Since all the cards were different sizes, I just cut out triangles from the front in whatever size they came out to be. Then I used spray mount to attach them to some plain black paper and hot glued some orange yarn across the top of the backs and voila, a Halloween themed pennant string!
I think it turned out very cute and it will be fun to hang up next Halloween.
Monday, October 11, 2010
Kool Aid + Crock Pot = Colorful yarn

These are my first hand dyed yarn attempts. Awhile back I had come across this tutorial for dyeing yarn in a crockpot with kool-aid. So this past weekend, I decided to gather my supplies and give it a try. If you want to try it yourself, here is the link. I'm not sure what the red/purple mini skein of chunky yarn is going to be, but the green/blue larger skein is going to be mittens.
Fast forward a few weeks...


Here are the completed mittens... I really like how they turned out, but shortly into the first mitten, I realized they were not going to fit me, so I put out a plea on Facebook for anyone with smaller hands who would like a pair of mittens to please let me know. My Facebook friend Jamie answered and she is the recipient of these hand dyed, hand knit wool pair of mittens.
I can't wait to try this again. I have a colorway I'm aiming for with this yarn, but don't think I'm going to be able to get there with Kool-Aid. I may have to try some other dyes and of course, I'll keep you posted.
Thursday, October 7, 2010
Welcome to the Cloth Paper Scissors Studios Virtual Tour!

Dear fans, followers, friends, etc.,
(Ya know, BOTH of you!)
I am participating in the Cloth Paper Scissors Studios Virtual Tour,
October 15-17 here on my blog.
Welcome to my studio!

This wonderful heavy wood table came from a local restaurant that had a fire, probably 16 years ago. It stunk from smoke, but after it was cleaned up, it made a perfect work surface for the shop.

I love to collect rocks, thinking I'll polish them or whatever in the future. I just started crocheting around them. I've got a very small collection of Gwen Frostic prints too.

Here is a small piece of cork board stuck on one of my cabinet doors. Attached is my first piece of freeform knitting, a wristband from the release party for the seventh Harry Potter book, my first try at knitting a peace sign and my favorite... my "Mind Mush" pin that my friend Jean made back when we were both working retail.

Since I live in an area that has many office furniture manufacturers; I was able to get this portion of a work cubical and turn it into a designated sewing area. The cabinet has some patterns and fabric in it and I use the keyboard drawer for thread and bobbins. The upper cabinets do have doors that close, but they are open in this photo.

Here is another wonderful table that my wonderful husband made for me. It weighs a TON and is perfect for watercolor painting on. My latest work is in the foreground.

When my church tore down it's parsonage, I was able to get these kitchen cabinets. My husband put up a partial wall and installed these. I won't get into the blood, sweat and tears part of this story. Yes, that's some dry erase board on the walls. My studio is not quite a quarter of the basement in our house. The other half of the basement is semi-finished and the other quarter opposite my studio is my husband's shop.

Our old stereo.

One of these old drafting chairs belonged to my father in law, the other was purchased in a secondhand shop quite a few years ago.
 The old file cabinet was from my brother in law who was a builder/developer. He didn't need it anymore, so he gifted it to me. We put it up on wood blocks to raise it up off the floor. I use it for watercolor paper, drawing pads, other papers and artwork. I love it!
Who doesn't need shelving? These are some of my artbooks, magazines, photos, and other reference materials. It also holds tote bags and some frames.

These cabinets hold my stash of yarn (though you can see the overflow in the plastic bins), patterns, art supplies, and lots of other things.
Now, if you made it all the way to the end...
Thank you so much for coming to visit my virtual studio!
and...
If you would like to leave a comment just to let me know where you are visiting from,
I would LOVE that!
Libby
Subscribe to:
Posts (Atom)